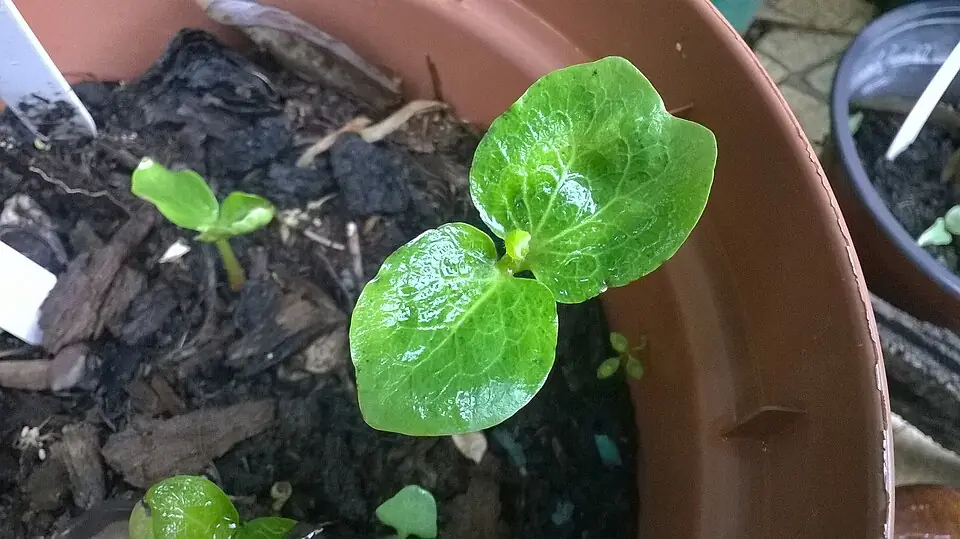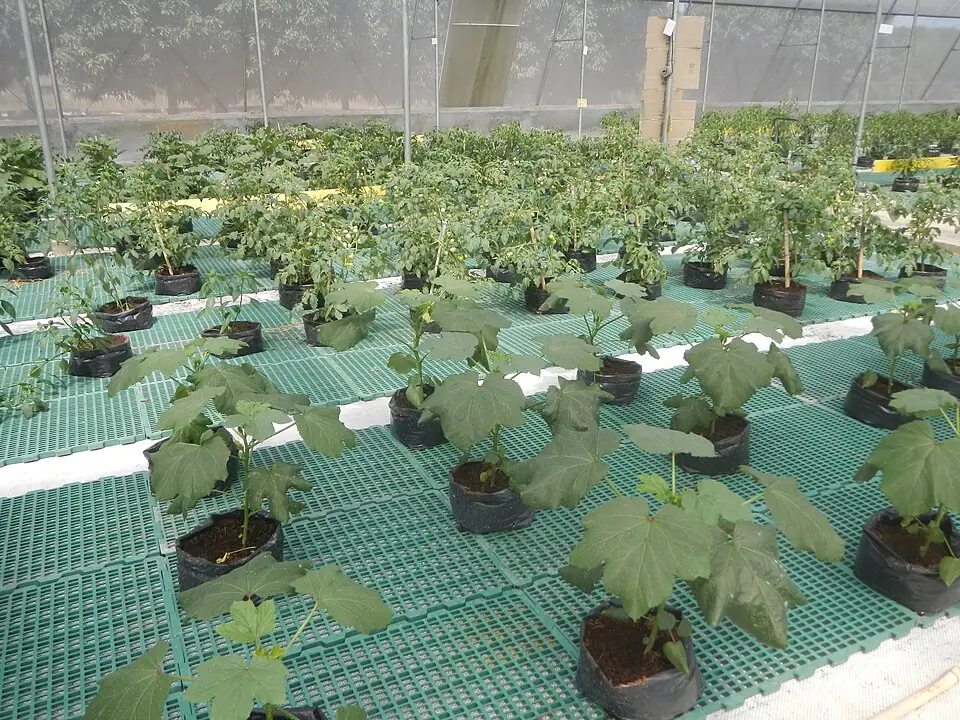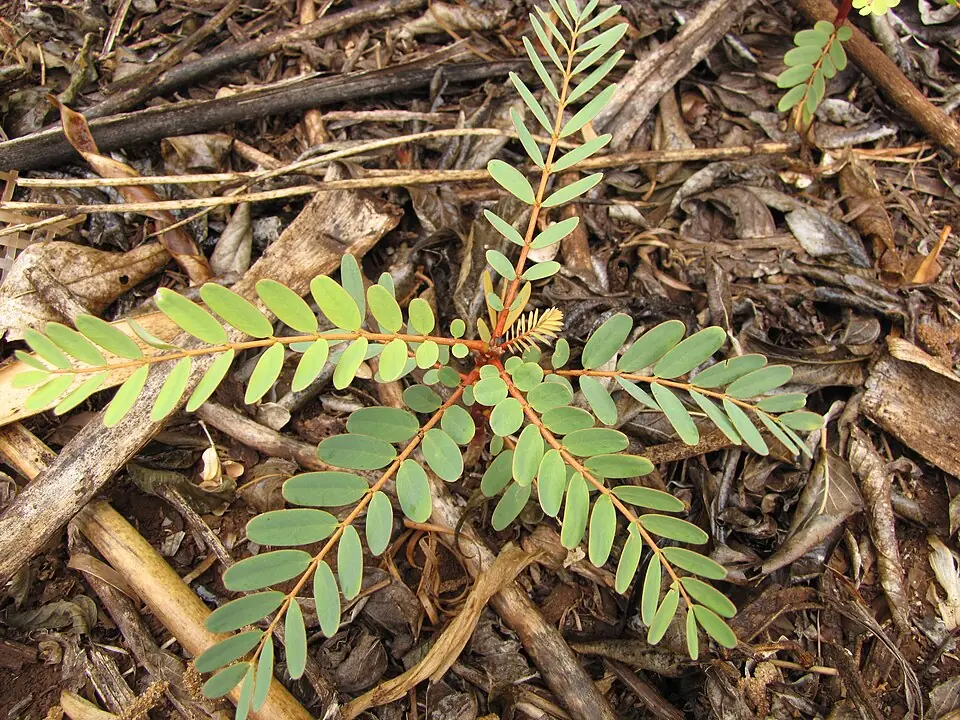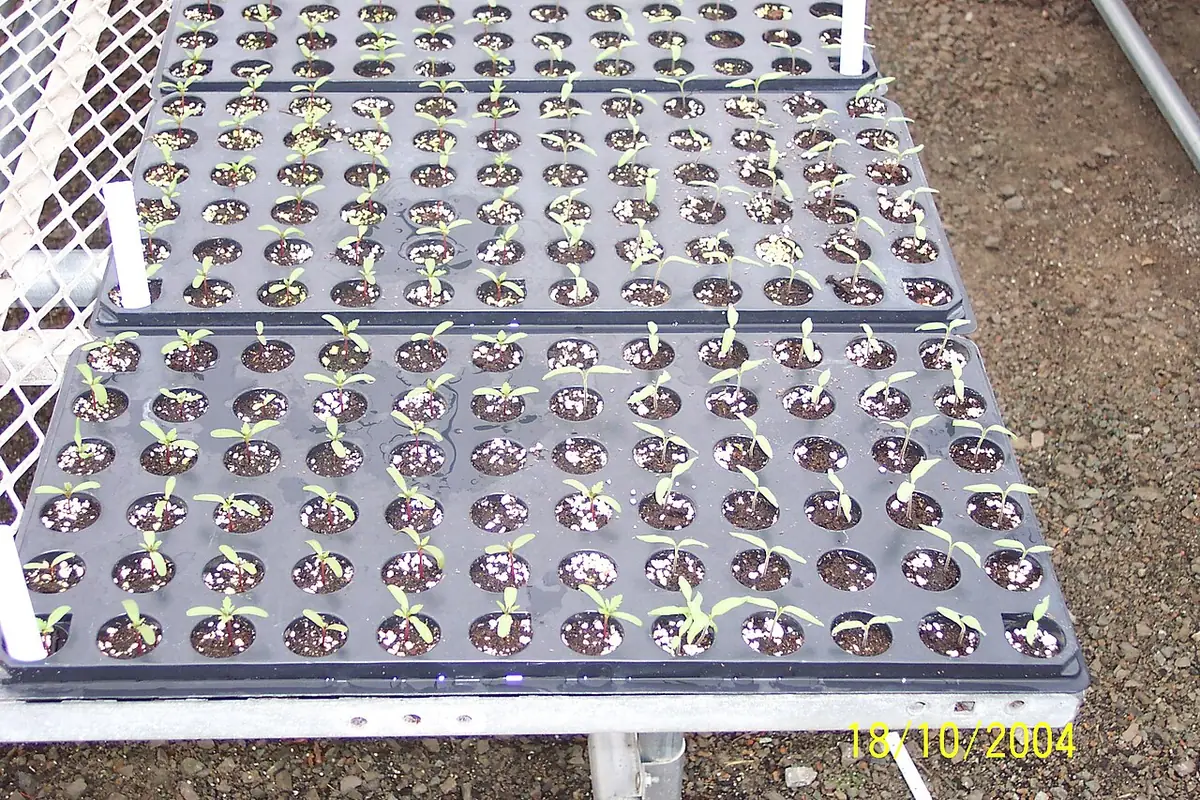
Light intensity falls with distance and can vary across a tray. Follow the equipment guidance and compare growth in the center with growth at the edges. Adjust safely rather than bringing electrical fixtures close to wet foliage. If using a window, remember that a room that seems bright to a person may still provide insufficient light for compact vegetable seedlings.
Prepare the next stage
Begin by doing the following in a deliberate order: place newly emerged seedlings in adequate light immediately. Set out clean containers labels and any suitable medium before opening seed packets or taking plant material from its parent. Working in a small organized area reduces the time that delicate roots or cut ends remain exposed. Keep the original variety information with the batch. If several crops are being started together, finish and label one before moving on to the next.
At this stage, read the light manufacturer guidance for distance and safe installation. Inspect the actual material instead of relying only on a calendar reminder. A tray on the edge of a bench may dry more quickly than one in the center, and plants nearest a window may receive different light from those behind them. When the batch is uneven, compare these small environmental differences before assuming the seed or plant stock is defective. Record the observation that prompted the next adjustment.
Recognize the important signals
A useful point to understand is that strong compact growth is more informative than judging brightness with human eyes. This helps explain why the same method can behave differently in two rooms or during different weather. Pay attention to both moisture and air around the developing roots. Keep medium in contact with roots or seed as appropriate without repeatedly pressing it into a dense mass. Handle young growth gently and support the root plug whenever moving a plant becomes necessary.
Avoid a common mistake: a warm dim shelf often produces long pale stems even when watering is careful. Correcting the environment is usually more useful than trying to compensate with several unrelated treatments. If a batch is clearly deteriorating, inspect drainage light temperature and handling history before repeating the same method. Remove failed material from the working area and clean up spilled medium. Do not make disease claims from a photograph alone; persistent unexplained problems deserve advice from a reliable local horticultural service.
For the next decision, adjust the setup gradually and allow an appropriate dark period. Make a change that you can explain from what the plant or medium is showing. Allow a suitable period to assess the response, and avoid moving the same plants repeatedly between very different conditions. Maintain a simple label or notebook record so this batch remains distinct from a later sowing. This is particularly useful when two varieties develop at different speeds under otherwise similar care.
Support continued growth
As the process continues, do not place electrical equipment where watering can reach plugs or connections. Think ahead to the destination bed or container and the weather the plant will encounter there. A young plant grown under protection does not automatically tolerate intense sun strong wind or a cold night. Check that the intended growing space is ready and that the soil condition suits the crop. Keeping plants in small temporary containers for too long can undo the benefits of a careful start.
The most useful record from providing Useful Light for Seedlings is a clear account of the conditions that made the process manageable. Note the variety material used and the one adjustment that mattered most. Keep the number of young plants within the space you can maintain, and share only healthy clearly identified material when appropriate. A successful small batch is a sound basis for the next season because its method can be repeated and improved without unnecessary waste.