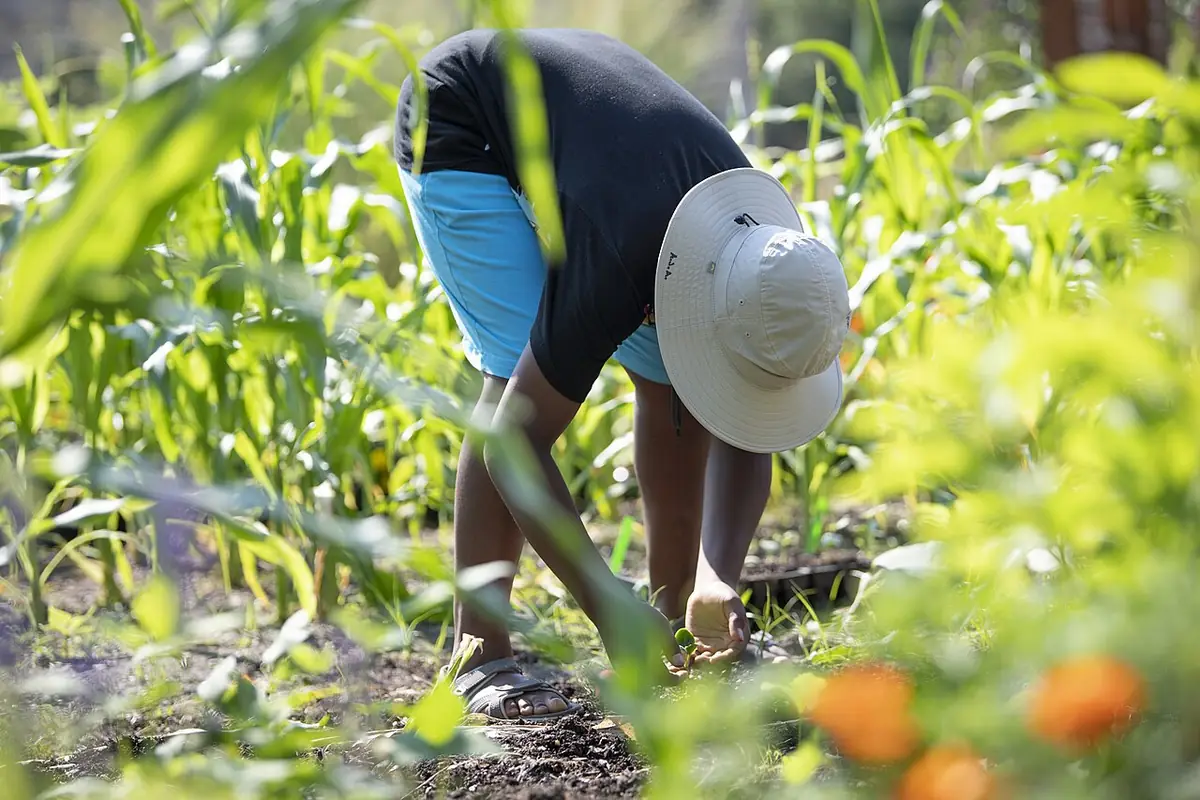
The low spreading habit of tatsoi makes the soil surface part of the harvest environment. Keep the rosette above accumulated debris and avoid directing a heavy stream of water into its center. A gentle outer leaf harvest leaves the crown able to grow, while a whole plant cut finishes that particular plant. Use the harvest method to decide how many rosettes to establish in the next sowing.
Prepare and establish the crop
For tatsoi, prepare an even soil surface amended with fully finished compost. Work only when the ground is moist enough to crumble instead of sticking heavily to tools. Remove competing weeds before sowing or transplanting because pulling them out later can disturb the young crop. There is no benefit in making an unmeasured addition of every available amendment. Review what the bed has already received and use a soil test if nutrient or pH problems are suspected. A suitable starting structure is more useful than a very rich but poorly drained bed.
For tatsoi establishment, sow thinly and protect newly emerged plants with suitable mesh if needed. Use the variety instructions together with locally appropriate seasonal guidance. Conditions in the soil matter as well as the air temperature, so delay a planting if the rooting zone is unsuitable. Keep the seed packet or plant label until the crop is settled. It preserves information about growth habit and spacing that is difficult to reconstruct when several varieties are sharing a small garden.
Manage growth and moisture
As the tatsoi plants begin growing, thin so low leaves do not lie on top of neighboring crowns. Think about the mature crop and the space needed to reach it for inspection and harvest. A narrow accessible bed usually works better than packing every remaining gap. When thinning is needed, remove the surplus carefully while the plants are small. Keep routine walking on paths so the rooting area does not become compacted. Check the space again after the first strong flush of growth rather than assuming the original arrangement will remain adequate.
For tatsoi moisture care, water beneath the leaves and let the soil surface breathe between waterings. Feel below the visible surface before deciding that the bed is dry. A dark wet crust can conceal a dry root ball, while a pale surface can cover soil that still contains adequate moisture. Apply water slowly enough to enter the intended rooting area. Stop if it runs into the path and check the cause. Adjust the next watering to rainfall plant size and soil texture instead of repeating the same amount automatically.
Watch the whole plant before making a correction. With tatsoi, soil splashed onto the low leaves is common after heavy watering. Compare affected plants with nearby examples receiving similar light and water. Notice whether the change appears on old leaves new growth or the entire plant. These details help separate a temporary environmental response from a persistent problem. A photograph and a note about recent weather are useful if you need identification from a local extension service or other reliable horticultural adviser.
Observe and harvest
For tatsoi, the practical response is to use a gentle flow and a thin clean mulch once plants are established. Make the smallest justified change first and give the plant a suitable period to respond. Repeatedly changing watering feeding and location together makes the result difficult to interpret. Avoid removing healthy foliage simply to make the crop look tidier. Leaves support the plant, and unnecessary disturbance can slow recovery. If a plant is clearly failing, reassess the growing conditions before filling the same spot with another identical replacement.
At the tatsoi harvest, take outer leaves or cut a whole rosette before a flower stalk rises. Inspect the crop regularly once it approaches the expected stage because appearance can change quickly in suitable weather. Handle stems and roots gently and use clean tools when cutting is appropriate. Keep the working area clear of discarded damaged material so you can see new growth. This is a garden growing guide; prepare harvested produce according to reliable food safety guidance and never use material whose identity or suitability is uncertain.